Ayyam-i-Ha is the Baha’i yearly four-day celebration from February 26 through March 1. The holiday means the “Days of Ha.” “Ha” is an Arabic word meaning “the essence of God” so it can be roughly translated as “honoring the essence of God.”
Because Ayyam-i-Ha does not have specific celebration rituals attached to it, there is no limit to the things you can do with your children to honor the essence of God. We chose to bring nature a little closer to our home and build some pine cone bird feeders. Though we live in the country and see wild birds often, my family is not well educated on their names or habits. Hopefully, this activity will open our eyes a bit to the animals that frequent our neighborhood.
We first took a trip to our local wild bird authority store. There, they taught us the birds that would most likely migrate into our area and the kind of feed they prefer. Although they sold pine cones to use for the feeders at the store, we chose instead to scour our desert surroundings to find some, offering us more opportunity to enjoy nature.
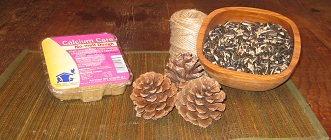
Materials:
Pine cones
Bird seed
Twine
Peanut-suet mixture (sold at animal stores)
Glue (a hot glue gun will work best)
Instructions:
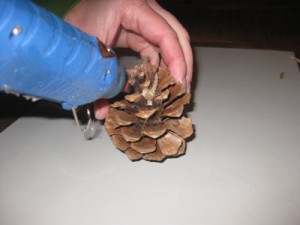
1. To begin, I hot glued some jute twine to the pine cones to properly secure the string.
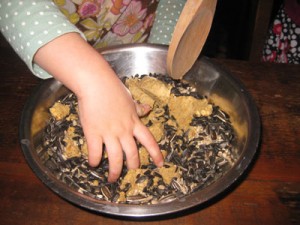
2. Then we started the dirty work. I poured some bird seed into a bowl and added a peanut-suet mixture, which was recommended by the experts for the birds to produce better egg shells.
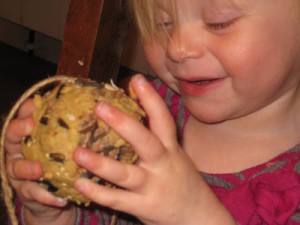
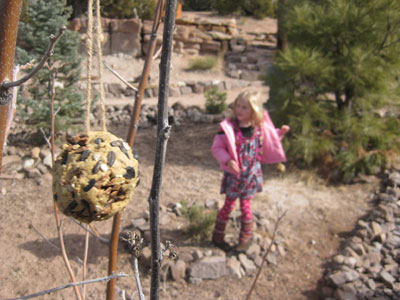
3. It didn’t take the girls long to finish, though I urged them to add more mixture before they took their pine cone feeders outside. My children (and yours, I’m sure) get excited to move from step to step!
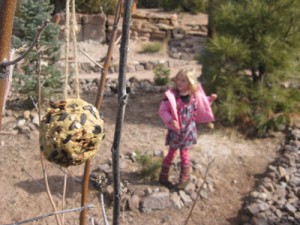
They wondered immediately where the birds were. I told them they had to be patient—the birds need a chance to learn where the feeders are before they will come.
While waiting to spy the birds, I pulled out some wild bird coloring books that we had picked up at Zion National Park last fall. These books are so fabulous in that they educate kids totally under the guise of arts and crafts—so sneaky, my favorite kind of education. And the pictures are very detailed with accurately colored stickers at the front of the book and number codes to find the coloring page for that particular bird. We found the birds that the wild bird experts told us to expect and began to color. My oldest child colored a titmouse. My three-year-old colored a chickadee. My youngest daughter colored the dining room table. C’est la vie.
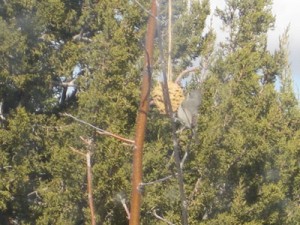
I almost yelled across the house when I spotted a titmouse pecking at the feeder! How exciting to see exactly what we had learned about!
The girls have since seen the birds at their feeders, too. What a perfect way to honor and celebrate the creations on earth during this Ayyam-i-Ha!
Looking for more Ayyam-i-Ha crafts? Then check out this Adent style banner.
And better yet, what about birdseed feeders made from seed and gelatin in the shape of a nine-pointed star, a very important symbol in the Baha’i faith? Here you can purchase cookie cutters in the shape of a nine-pointed star: http://www.bahairesources.com/cookie-cutters.html
Simply mix a batch of plain gelatin according to package instructions and mix in the seed. Place the mix into the mold on a baking sheet lined with parchment or wax paper. Don’t forget to add your string to the mold in the center for a secure hold. Be sure to let the mold dry completely before removing. Hang it in the east so you will always see your nine-pointed star rising.












[…] Crafts Make a bird feeder Make an advent-style […]